


The Whole Truth About Cranberry Sauce
Plus roast turkey correction redux and wrapping up the outdoor market season

In This Issue
• Wading Into the Sticky Cranberry Sauce Debate
• The Last (Outdoor Market) Roundup
• Recipe Correction Redux, Or Who’s The Turkey Now
Wading Into The Sticky Cranberry Sauce Debate
I may as well get right to the point: I’m a whole cranberry sauce guy of long standing.
I don’t remember exactly when whole berry sauce began to be marketed widely. But I remember some spirited debates with a colleague 35 or so years ago in which I argued the whole berry case, against his insistence that it isn’t Thanksgiving unless you have jellied sauce, with the can’s product code stamped visibly on the end.
I’m not here to judge. If you like your cranberry sauce in a form more akin to Jello than the fruit of origin, you be you. I just think whole berry sauce is much better.
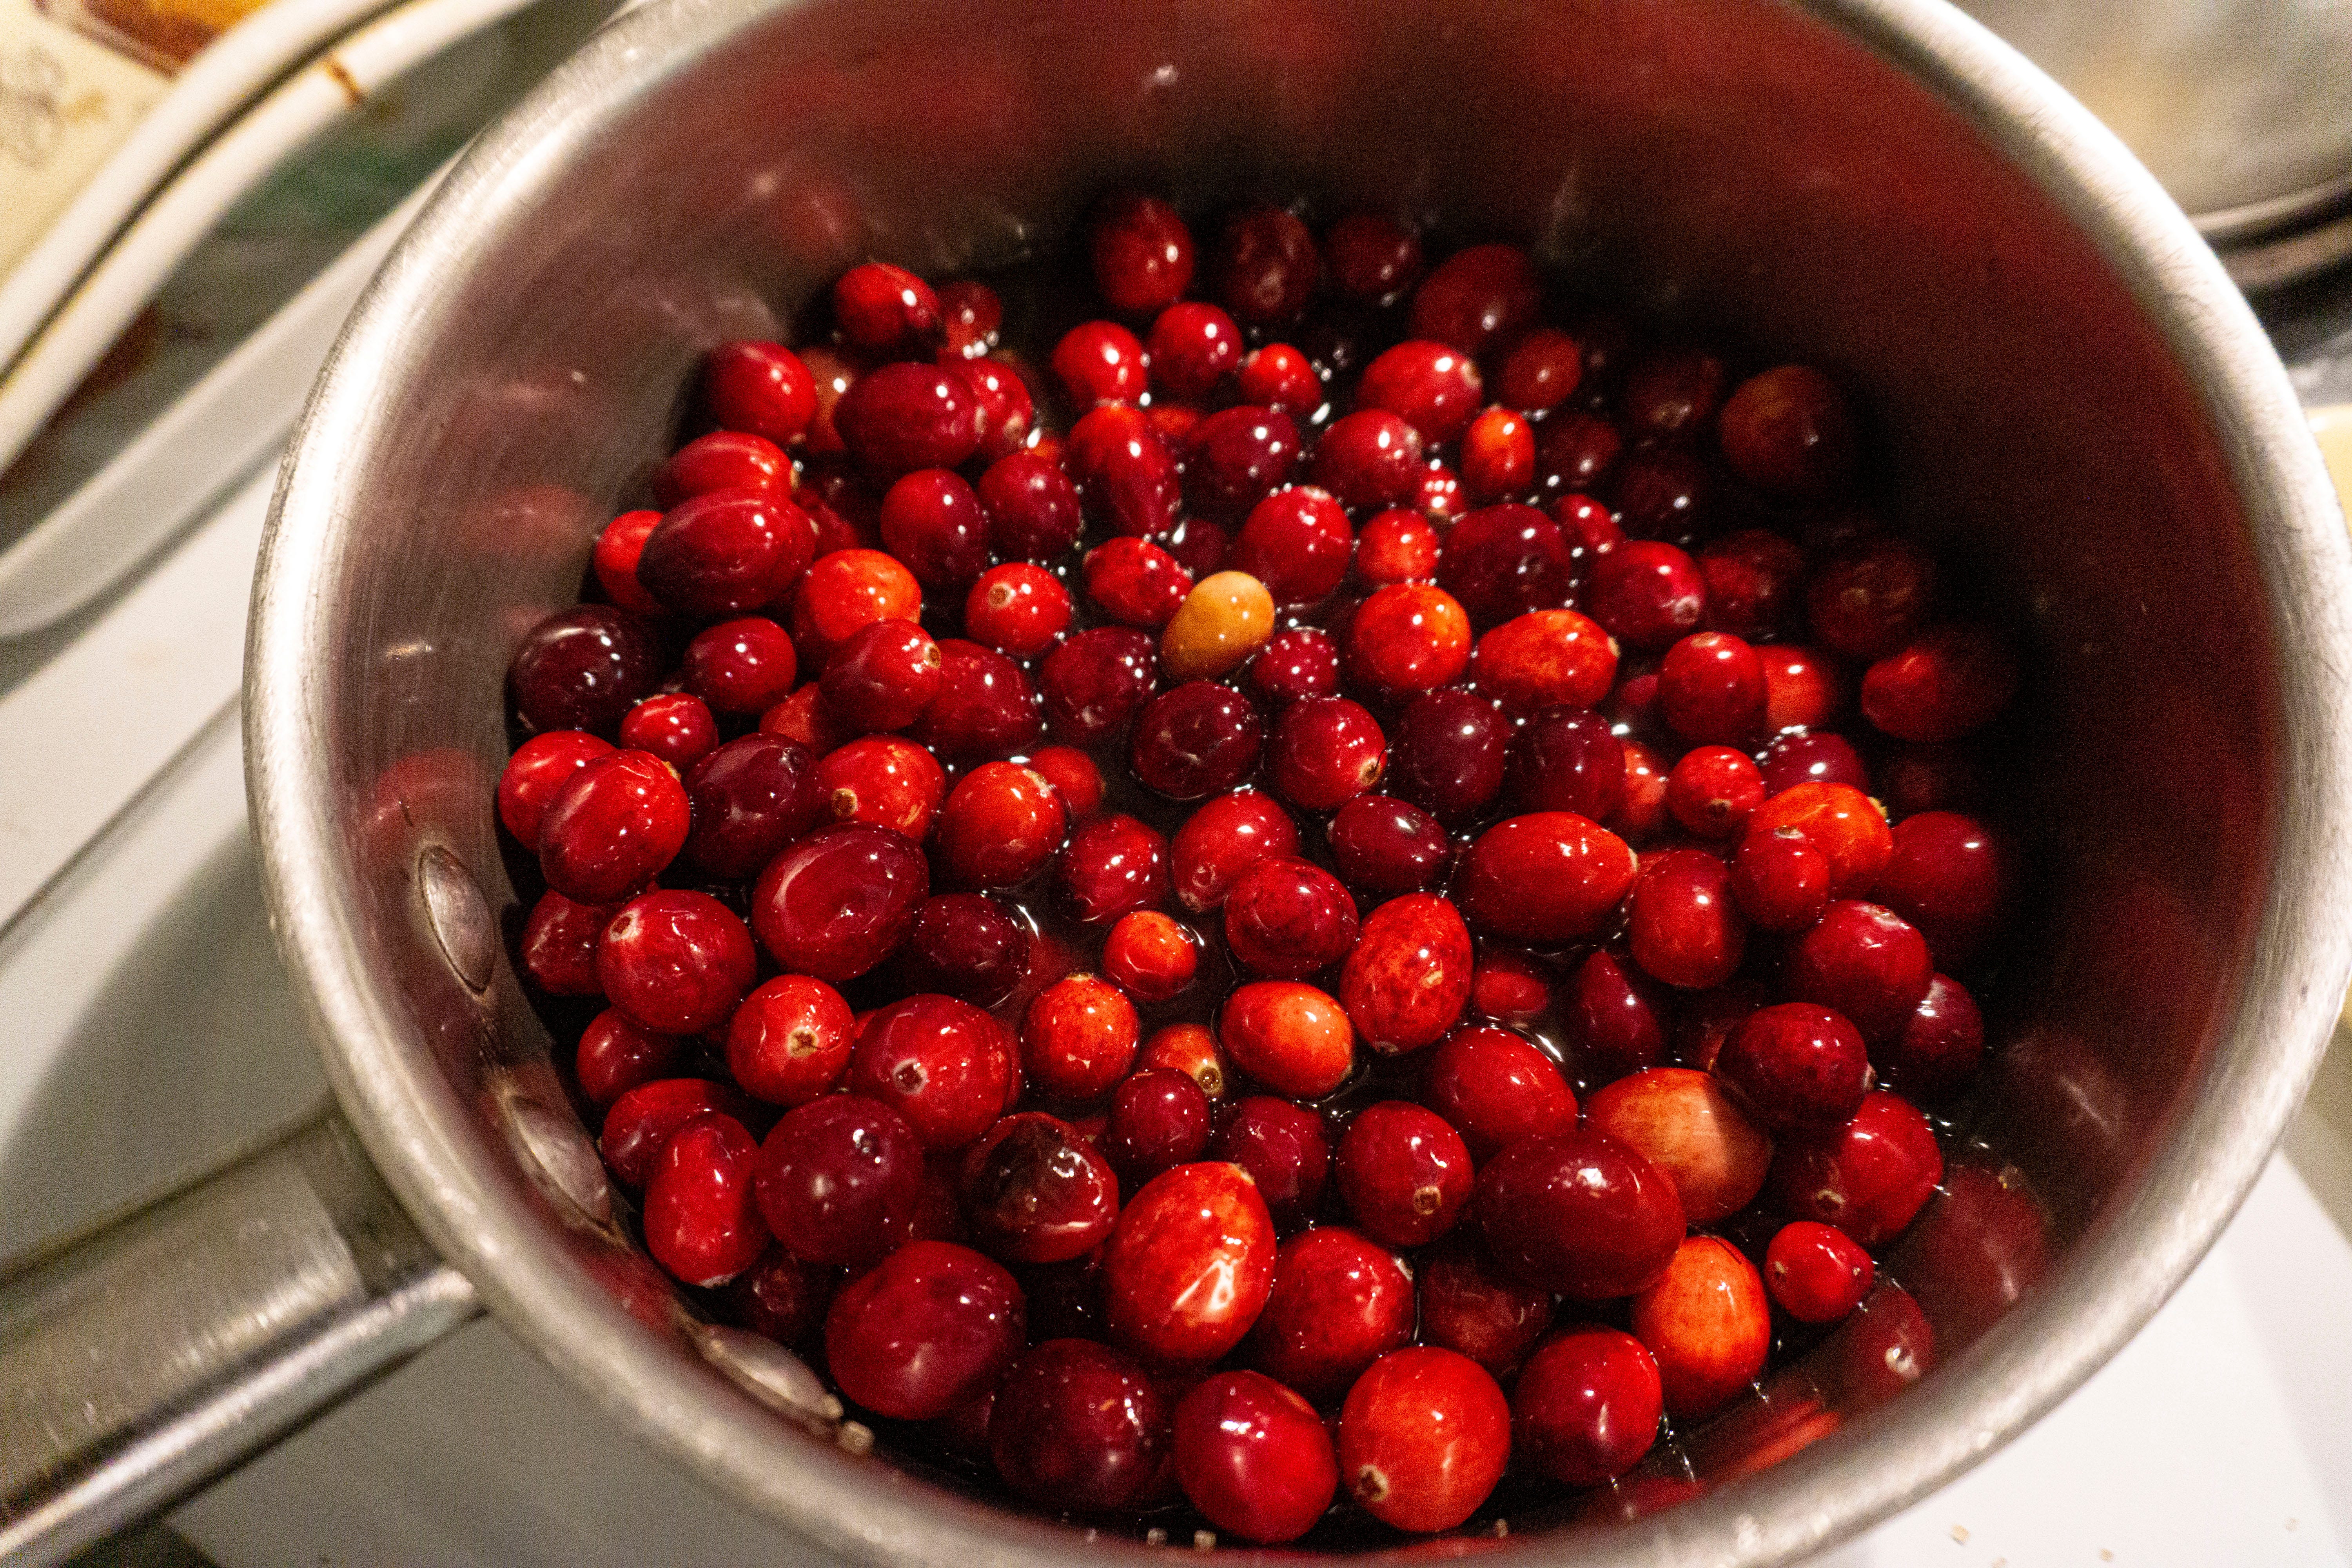
And… it is one of the most ridiculously easy things that you can make at home. The basic recipe is exactly three ingredients: cranberries, sugar and water. Including washing the berries, it takes all of about 15 minutes for a potful of deliciousness you’d be happy to serve to your family and guests.
12 oz. cranberries (pick through to weed out any that have gone soft)
3/4 c. sugar (I use turbinado because it’s less refined, but that’s optional)
3/4 c. water
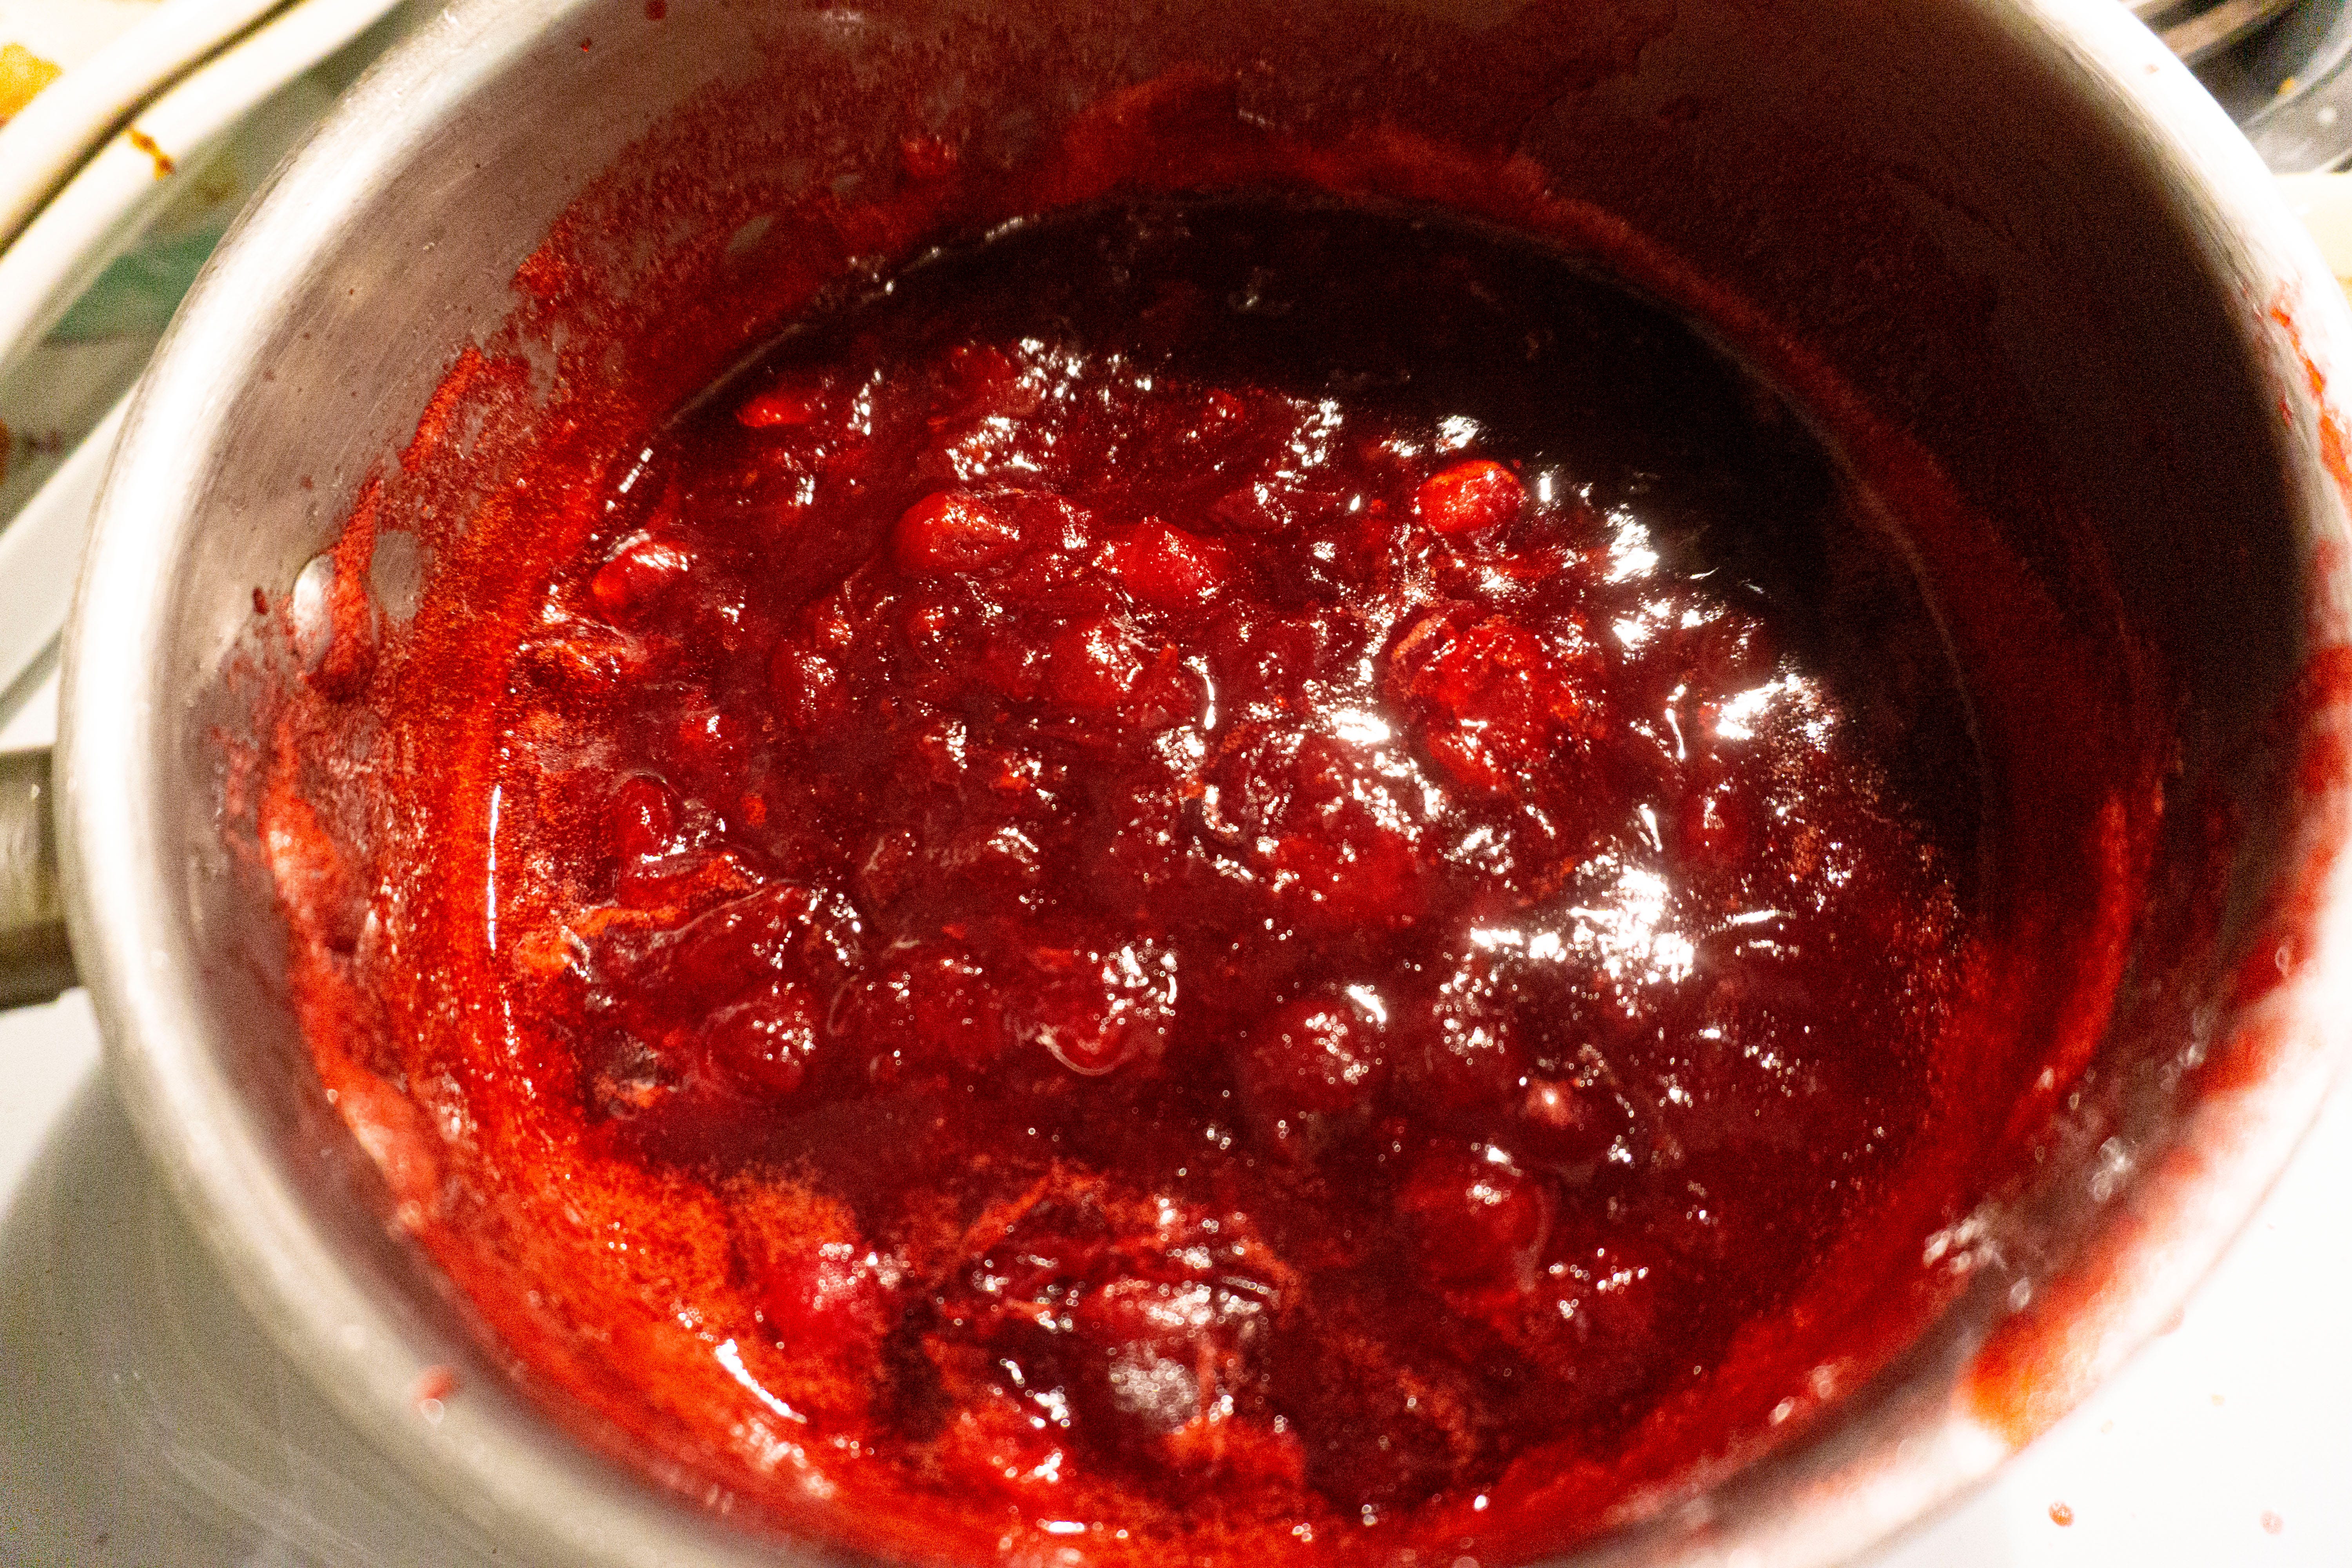
Put all ingredients in a medium pot and simmer over medium heat. Stir occasionally and mash down on the berries as they soften. Once the sauce has jelled a bit and has a jammy texture, remove from the heat.
Hot tip: Use a splash screen or partially cover the pot with a lid. Cranberries do pop, and a screen or lid can help keep your stove from looking like a crime scene.
There are so many variations on the basic theme. You can use juices like apple or orange instead of water. I’ve been known to toss in a splash of whiskey (the alcohol cooks off). You can add other fruit to the berries, or spices such as cinnamon or ginger. You can also use non-sugar sweeteners, maple syrup or honey, but you probably want to use less because of their concentrated sweetness.
Just use your imagination. I’m not looking to make converts here, but I don’t mind if I do.
The Last (Outdoor Market) Roundup
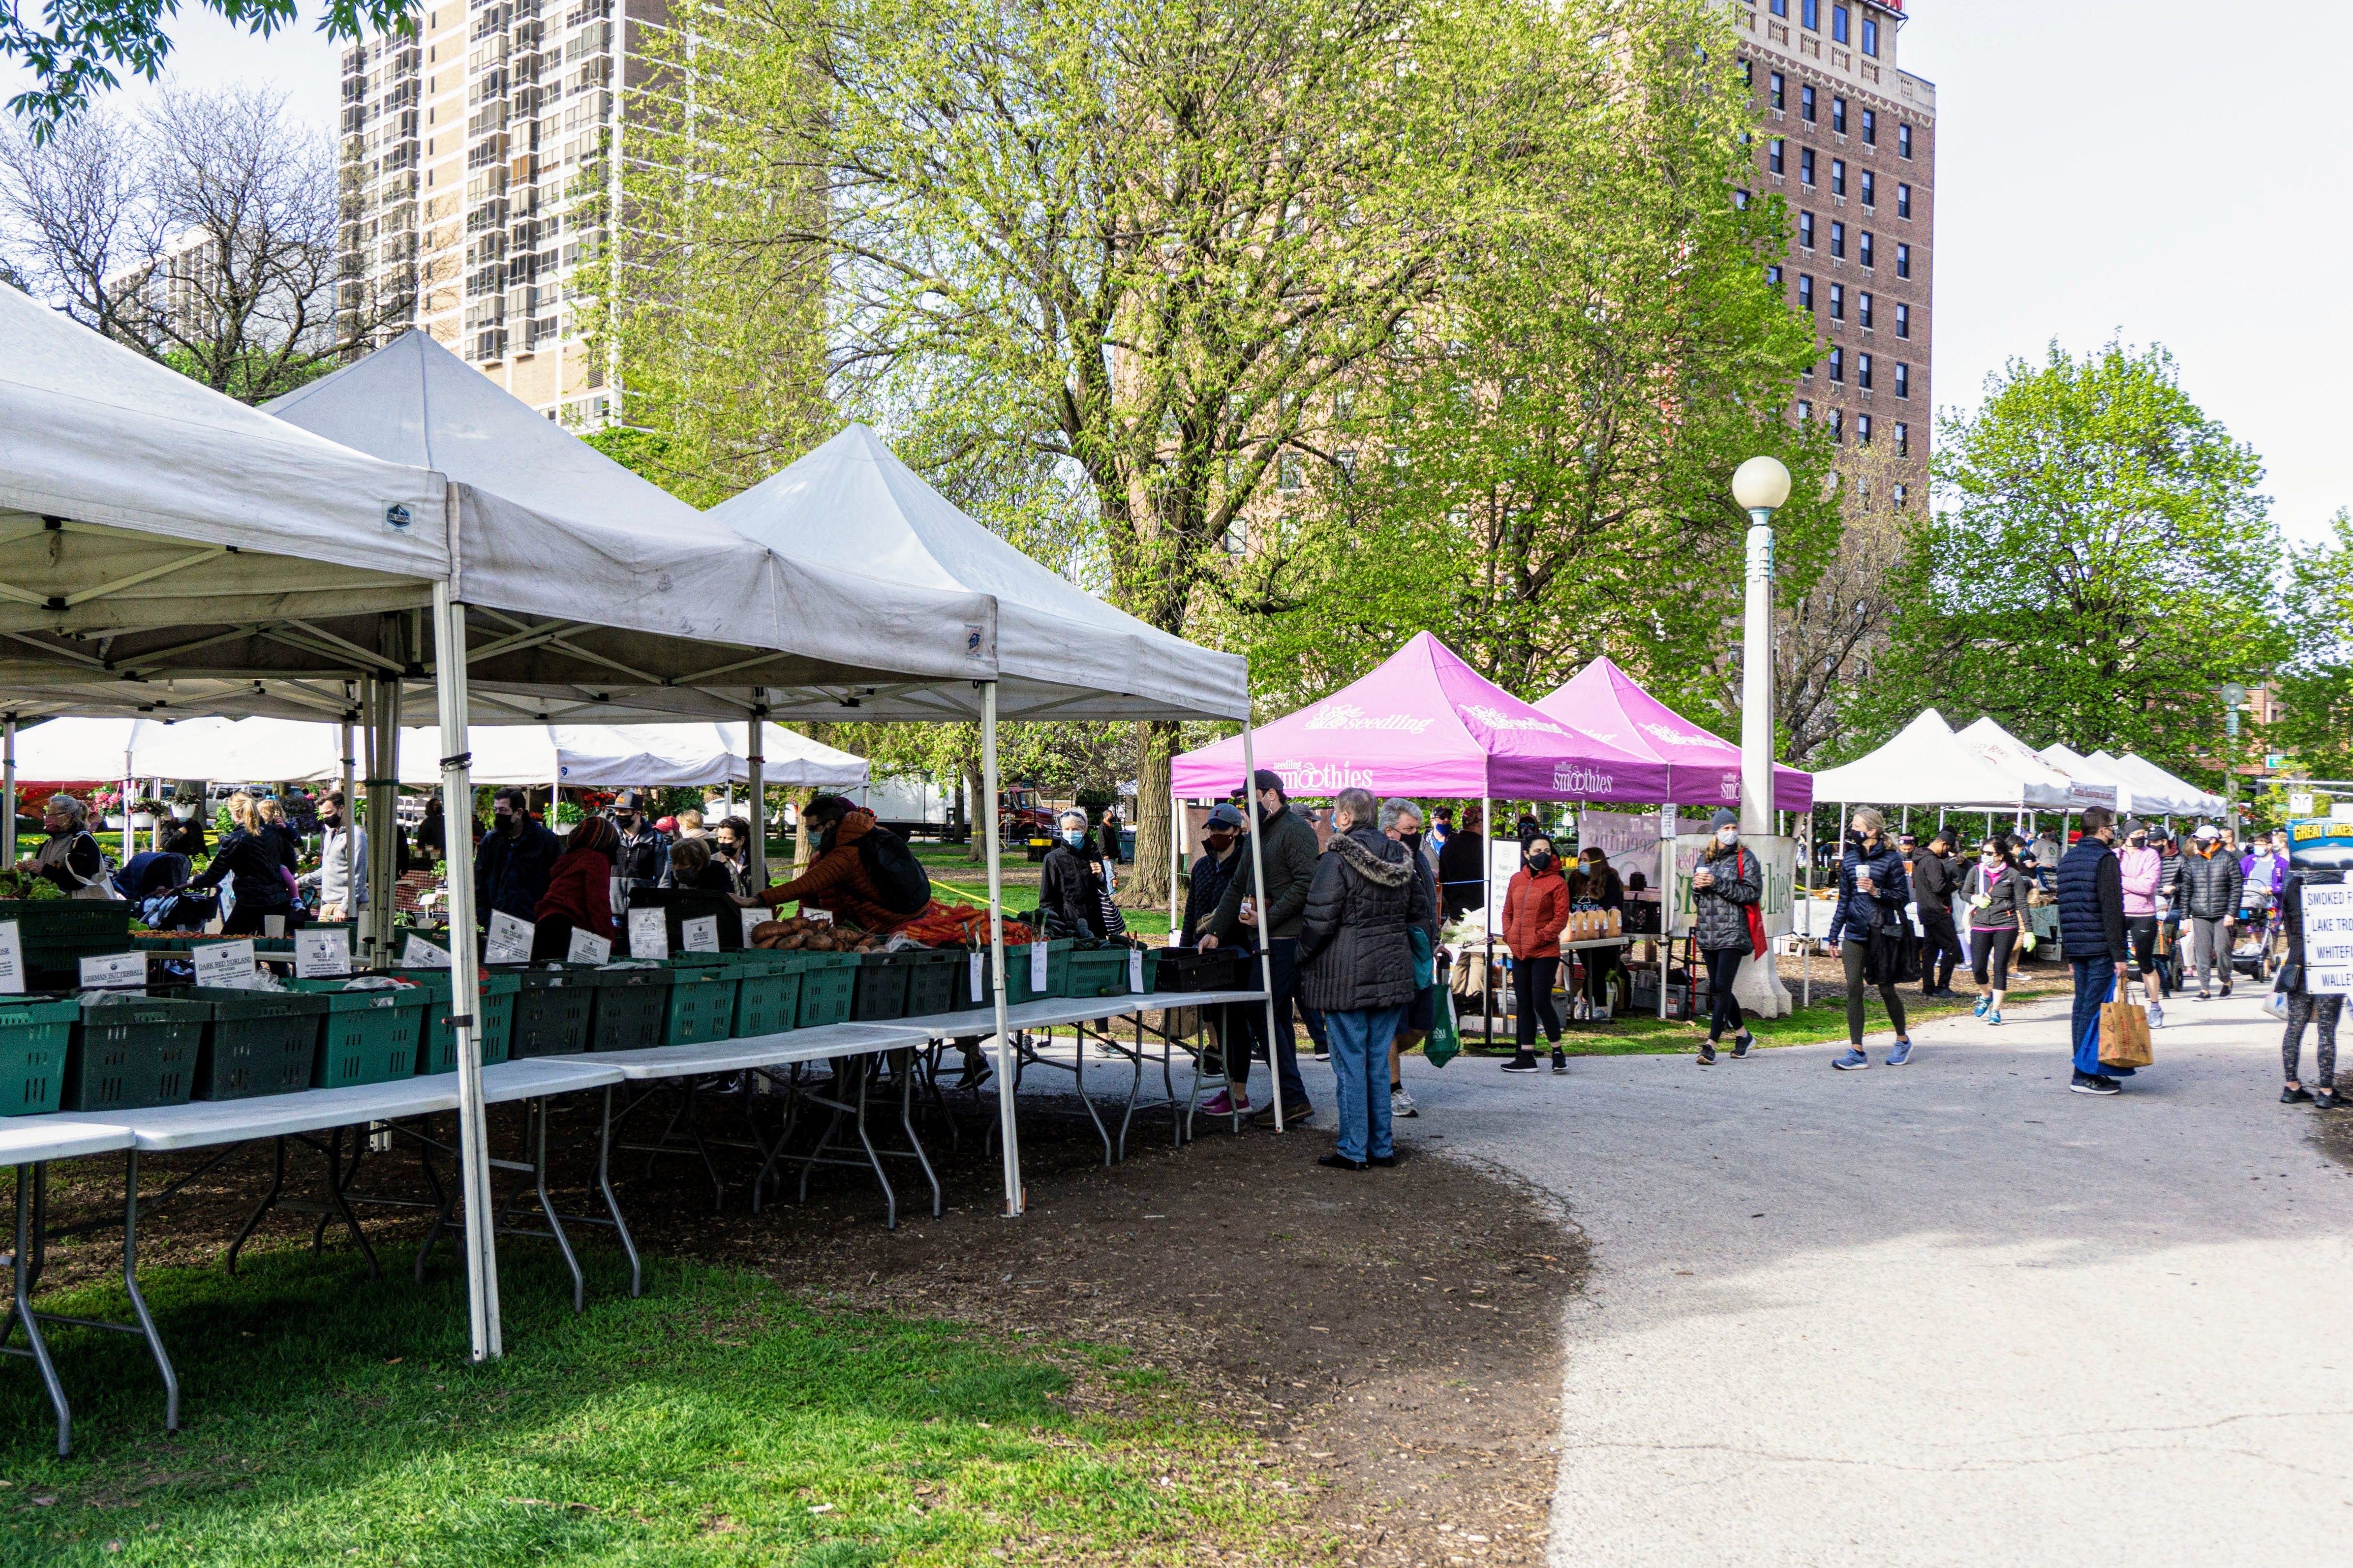
Time does fly. Hardly seems like almost seven months since the outdoor farmers market season opened in earnest on May 1, as seen at Green City Market in the photo above. The run-up week to Thanksgiving is the last outdoors for the remaining Chicago biggies: Green City, 61st Street Farmers Market, The Lincoln Park Farmers Market and the Lincoln Square Farmers Market.
Of course, that does not mean we’ll be starved for local food options until next May rolls around. The handful of winter markets already under way will be joined on Sunday by the Logan Square Indoor Market at its new location. The list will grow after next week’s holiday.
And, fueled by necessity during last year’s pandemic onset, there is now an increasing number of online e-commerce options, including the WhatsGood site utilized by Green City Market and others, and individual producers. I’ll be working hard to aggregate as complete a list as possible, but I could sure use some crowdsourcing help if you are a vendor doing e-commerce or a consumer who buys from them.
Meanwhile, don’t miss these waning opportunities to give the outdoor market season a proper sendoff.
Saturday, November 20
Batavia Indoor Farmers Market, 160 First St., Batavia, 9 a.m. to noon*
Evanston Thanksgiving Market, 616 Lake St., Evanston, 8 a.m. to 11 a.m.*
Grayslake Farmers Market, 201 Center St., Grayslake, 10 a.m. to 2 p.m.
Green City Market Lincoln Park, 1817 N. Clark St., Chicago, 8 a.m. to 1 p.m.
Naperville Farmers Market, 200 E. 5th Ave., Naperville, 7 a.m. to noon
61st Street Farmers Market, 6100 S. Blackstone Ave., Chicago, 9 a.m. to 2 p.m.
The Lincoln Park Farmers Market, 2001 N. Orchard St., Chicago, 7 a.m. to 1 p.m.
Woodstock Farmers Market, McHenry Country Fairgrounds, Woodstock, 8 a.m. to 1 p.m.*
Sunday, November 21
Logan Square Winter Market, 2537 N. Pulaski Rd., Chicago, 9 a.m. to 3 p.m.*
Maxwell Street Market, 800 S. Desplaines St., Chicago, 9 a.m. to 3 p.m.
South Loop Winter Market, 2018 S. Michigan Ave., Chicago, 9 a.m. to 1 p.m.
The Dole Farmers Market, 401 Country Club Rd., Crystal Lake, 10 a.m. to 2 p.m.*
Monday, November 22
Austin Harvest Farmers Market, 423 N. Laramie Ave., Chicago, 2 p.m. to 6 p.m.
Tuesday, November 23
Lincoln Square Tuesday Market, W. Leland & N. Lincoln Aves., Chicago, 7 a.m. to 1 p.m.
Wednesday, November 24
Austin Harvest Farmers Market, 423 N. Laramie Ave., Chicago, 2 p.m. to 6 p.m.
Friday, November 25
Austin Harvest Farmers Market, 423 N. Laramie Ave., Chicago, 2 p.m. to 6 p.m.
St. Charles Farmers Market, 307 Cedar Ave., St. Charles, 9 a.m. to noon*
* Indoor

Recipe Correction, Or Who’s The Turkey Now
Much as I strive for perfection, I do make the occasional mistake. On Tuesday, I published an article about a turkey roasting recipe that I have found foolproof. As soon as I sent it to subscribers, I realized I did the only thing that would make it not foolproof, which is leave out the key step of lowering the oven temperature about 40 minutes into cooking.
I sent out a correction right away and mentioned the problem on social media, but I have this nagging fear that someone will miss the correction, hunt me down because I ruined their Thanksgiving dinner, and beat me silly with a heat-scorched turkey leg.
So here’s the correction again. The key omission from the original is bolded for emphasis.
* Preheat the oven to 425, then cook for 20 minutes.
* Remove the pan from the oven, turn the turkey breast-side down, and cook for another 20 minutes at 425.
* Lower the temperature to 325 and guesstimate how long it will take to get within about a half hour of being completely cooked (the rule of thumb is that it cooks at about 15 minutes per pound). Leaving nothing to chance, check occasionally with a meat thermometer inserted into the thigh above the joint (165 is your safe target temp).
* Put on oven gloves or use hot pads, remove the pan from the oven, and turn again (use turkey forks if you have them). Be careful of hot juices when you’re doing the turn!!
* Continue to cook at 325. Watch carefully for browning, and remove when the turkey reaches the safe temperature of 165 on the thermometer.
* Finally, and this is really important, let the turkey rest for 20 to 40 minutes, which lets the juices redistribute. If you cut into a turkey blazing hot from the oven, those juices you’ve been patiently curating will run out and the meat will be hard (and hot) to cut.